
Introduction
Paint splatter is a simple artistic technique that can add texture, movement, and visual interest to paintings, crafts, furniture, and other creative projects. Instead of applying paint only with traditional brush strokes, you can create small drops and irregular patterns across a surface.
The technique is accessible to beginners because it does not require complicated equipment. However, getting an attractive result takes some control over the amount of paint, brush, distance, and direction.
This guide explains what paint splatter is, the tools you can use, several techniques to try, common mistakes, and practical tips for creating cleaner and more intentional results.
What Is Paint Splatter?
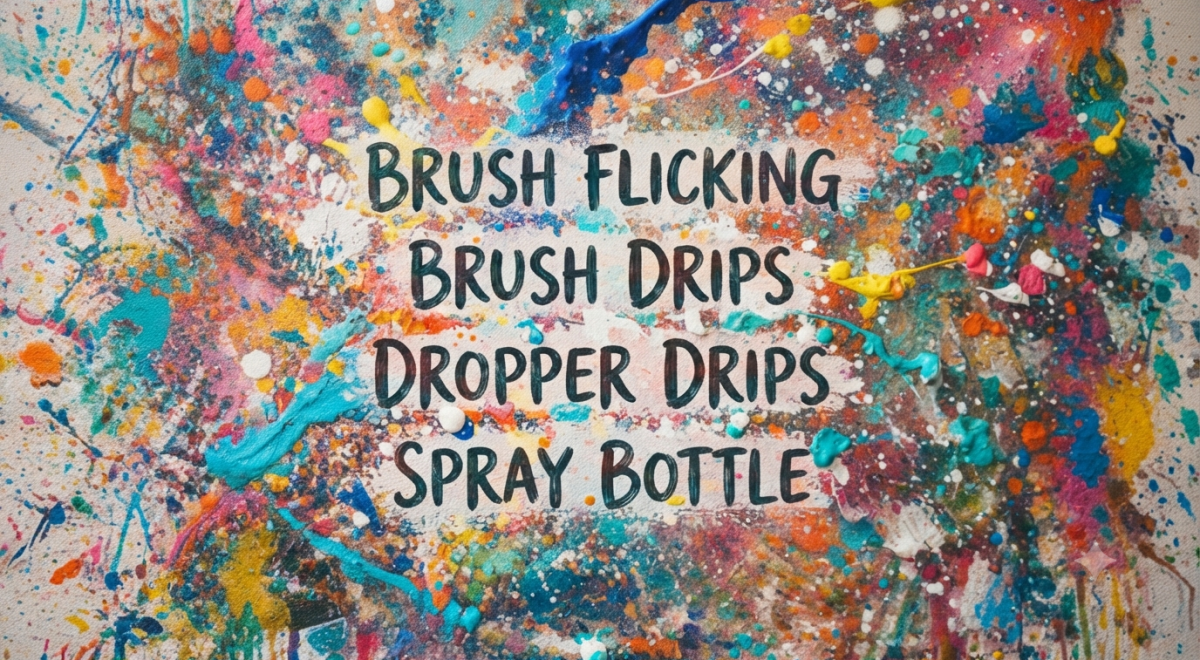
Paint splatter is a painting technique in which small droplets of paint are distributed across a surface to create a scattered pattern.
The appearance can range from tiny, subtle dots to larger, more noticeable drops. The final effect depends on factors such as:
- The type and consistency of paint
- The tool used to apply it
- The distance between the tool and surface
- How much pressure or force is applied
- The direction of application
- The surface being painted
Paint splatter can be used as a main artistic feature or as a finishing detail over an existing design.
Why Use Paint Splatter?
One of the main advantages of paint splatter is its ability to create variation without requiring every mark to be carefully planned.
Adds Texture and Movement
Random-looking droplets can make a flat painting appear more energetic. They can also help break up large areas of one color.
Creates Unique Patterns
Because the droplets naturally vary in size and position, each application can produce a slightly different pattern.
Works With Many Projects
Paint splatter can be used on suitable surfaces such as:
- Canvas
- Paper
- Cardboard
- Wood
- Craft materials
- Some decorative objects
The appropriate paint and preparation depend on the specific surface.
Suitable for Different Skill Levels
Beginners can experiment with simple splatter methods, while experienced artists can combine splattering with other painting techniques to create more controlled compositions.
Paint Splatter Tools and Materials
You do not need a large collection of supplies to get started.
Paint
Choose paint that is appropriate for your project surface. Acrylic paint is a common option for art and craft projects because it is versatile and available in many colors.
The paint should be fluid enough to create droplets but not so thin that it spreads uncontrollably.
Paintbrush
An old or inexpensive brush can be useful for splatter work. Different brush sizes can produce different droplet patterns.
Toothbrush
A clean toothbrush can create relatively fine droplets. It can be useful when you want a smaller and more concentrated effect.
Protective Covering
Splattering can spread paint beyond your intended working area. Cover your table, floor, furniture, or other nearby surfaces before beginning.
Gloves and Suitable Clothing
Wear clothing that you do not mind getting paint on. Gloves can also help keep your hands cleaner during messy projects.
How to Create Paint Splatter Step by Step
A simple approach can help you maintain better control over the final pattern.
Step 1: Prepare Your Workspace
Choose a well-ventilated workspace appropriate for the paint you are using. Cover nearby surfaces with paper, plastic, cardboard, or another suitable protective material.
Keep objects that you do not want painted away from the work area.
Step 2: Prepare the Surface
Make sure your surface is clean, dry, and suitable for the selected paint.
If you are splattering over another layer of paint, allow the underlying layer to dry according to the paint manufacturer’s instructions.
Step 3: Choose Your Colors
Select colors that work with the base of your artwork.
You can use a single contrasting color for a simple effect or combine several colors for a more layered appearance. When using multiple colors, consider testing them together first to make sure the combination looks the way you expect.
Step 4: Load the Brush
Dip the brush lightly into the paint.
Avoid loading too much paint at once. Excess paint can produce large drops or an uneven application.
Step 5: Test the Technique
Before working directly on your final surface, test the splatter on a piece of scrap paper or cardboard.
This lets you see the approximate droplet size and coverage.
Step 6: Apply the Splatter
Hold the brush above the surface and gently tap or flick it to release droplets.
Experiment with the distance between the brush and surface. A closer position generally creates a more concentrated area, while moving farther away can spread the droplets over a larger area.
Step 7: Let the Paint Dry
Allow the paint to dry before adding another layer or moving the artwork.
If you are creating multiple colors, consider allowing one layer to dry before applying another if you want the individual colors to remain visually distinct.
5 Paint Splatter Techniques to Try
Different application methods can create noticeably different results.
1. Brush Flicking
Load a brush with a moderate amount of paint and flick the bristles toward the surface.
This is one of the simplest approaches and works well for creating an irregular pattern.
2. Brush Tapping
Hold the brush over the surface and tap the handle gently against another object or your hand.
The resulting droplets can vary in size depending on the brush and amount of paint.
3. Toothbrush Splatter
A toothbrush can be loaded with a small amount of paint and manipulated to release fine droplets.
This method is useful when you want a more delicate appearance.
4. Controlled Directional Splatter
Instead of splattering randomly across the entire surface, focus the application on a specific section.
For example, you might create a concentrated area in one corner and gradually reduce the number of droplets toward the opposite side.
5. Layered Splatter
Apply one color, allow it to dry, and then add another color.
Layering can create depth and make the overall pattern more visually complex without requiring complicated painting techniques.
Paint Splatter Ideas for Creative Projects
Paint splatter does not have to be limited to traditional canvas paintings.
Abstract Artwork
Use splatter as part of an abstract composition. Combine it with brush strokes, shapes, lines, or blocks of color.
Canvas Decor
A simple background combined with carefully selected splatter colors can create a modern decorative piece.
DIY Craft Projects
Splatter can add visual interest to suitable craft materials. Always check whether the paint is compatible with the material before applying it.
Painted Wood
For decorative wooden projects, splatter can be used as an accent over a properly prepared base coat.
Background Effects
Instead of making splatter the main focus, use small droplets behind another design to create additional texture.
How to Control Paint Splatter
Although splatter is often associated with randomness, you can control many aspects of the result.
Adjust the Distance
Changing the distance between the brush and surface affects where droplets land and how concentrated the pattern becomes.
Control the Amount of Paint
A heavily loaded brush can produce larger droplets. A lighter load can create a finer effect.
Change the Brush
Different brushes have different bristle shapes and stiffness, which can change the appearance of the splatter.
Practice Your Motion
Try tapping, flicking, or moving the brush in different directions on scrap material first.
Small changes in your movement can significantly alter the pattern.
Common Paint Splatter Mistakes
Using Too Much Paint
Too much paint can result in large drops, puddles, or an overly heavy pattern.
Better approach: Start with a small amount and add more gradually.
Skipping the Test
Applying splatter directly to your finished artwork can make it difficult to correct an unwanted result.
Better approach: Test your technique on scrap material first.
Ignoring the Surrounding Area
Splatter can travel farther than expected.
Better approach: Protect nearby surfaces and remove objects that should remain clean.
Using Incompatible Paint
Not every type of paint works equally well on every surface.
Better approach: Check the paint label and surface requirements before starting.
Applying Too Many Colors
Several colors can sometimes make a design look visually crowded.
Better approach: Choose a limited palette that complements the background.
Tips for Better Paint Splatter Results
For more consistent results, keep these practical tips in mind:
- Start lightly. You can always add more splatter.
- Test first. Use scrap paper or cardboard to understand your technique.
- Protect your workspace. Assume droplets may travel beyond the artwork.
- Use compatible materials. Match the paint to the surface.
- Build layers gradually. Several light applications can be easier to control than one heavy application.
- Consider contrast. A splatter color should remain visible against the background.
- Allow layers to dry when appropriate. This helps prevent unwanted mixing.
- Step back occasionally. Viewing the entire piece can help you decide whether additional splatter is necessary.
Paint Splatter vs. Traditional Brush Painting
Paint splatter and traditional brush painting serve different purposes.
| Feature | Paint Splatter | Traditional Brush Painting |
| Appearance | Irregular droplets and patterns | More defined strokes |
| Control | Moderate and technique-dependent | Generally more precise |
| Texture | Can add visual texture | Depends on brush and technique |
| Best for | Accents, backgrounds, abstract effects | Detailed shapes and controlled artwork |
| Learning curve | Easy to start | Varies by painting technique |
Neither approach is necessarily better. Many artists combine both methods to achieve the desired appearance.
Is Paint Splatter Suitable for Beginners?
Yes. Paint splatter is relatively easy to experiment with because you can begin with basic materials and simple techniques.
However, creating a balanced and intentional composition takes practice. Beginners should focus on controlling the amount of paint and testing different distances and tools before working on an important project.
The goal is not necessarily to make every drop identical. Instead, practice helps you learn how to produce the range of patterns you want.
Frequently Asked Questions
What paint is best for paint splatter?
Acrylic paint is a practical choice for many art and craft projects, provided it is suitable for the surface. The ideal paint depends on the material and the finish you want.
How do you make fine paint splatter?
Use a tool capable of producing small droplets, such as a suitable toothbrush or fine-bristled brush. Use a relatively small amount of appropriately fluid paint and test the technique before applying it to the final surface.
How do you prevent paint splatter from going everywhere?
Protect the surrounding area, work in an appropriate space, and control the amount of paint on your brush. Testing the technique beforehand can also help you understand how far the droplets travel.
Can paint splatter be used on canvas?
Yes. Paint splatter is commonly used as part of canvas artwork. Make sure the selected paint is appropriate for the canvas and allow each layer to dry properly when necessary.
Can you remove unwanted paint splatter?
It depends on the paint, surface, and whether the paint has dried. Wet paint may be easier to correct, while dried paint can be more difficult to remove without affecting the underlying surface. Always consider the material before attempting to remove it.
Conclusion
Paint splatter is a flexible technique that can transform a simple painting or craft project with relatively little equipment. By adjusting the brush, paint amount, distance, and application method, you can create anything from subtle dots to bold, energetic patterns.
For the best results, start with a small test area, protect your workspace, choose paint that is appropriate for your surface, and build the effect gradually. With practice, paint splatter can become a useful technique for abstract artwork, decorative projects, backgrounds, and creative experiments.